Last Updated on
Mac is a powerful and popular operating system that boasts a great user interface and stability for users.
If you want to store data or files on your computer, then you should consider using an external hard drive – this will ensure that your documents are protected and available in the event of a disaster or breakdown in your technology.
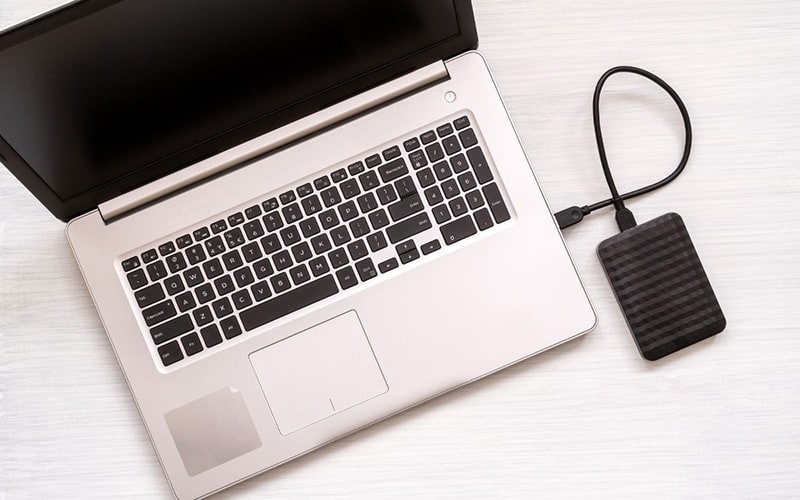
An external hard drive is a portable storage device that plugs into your Mac via a USB port, which allows you to save data from your Mac to the external hard drive.
The external hard drive can also be connected to other devices such as PCs and smartphones to transfer data easily.
In just a few short steps, we will learn how to backup our Mac to an external hard drive, and explore the benefits of doing this.
How To Backup Mac To External Hard Drive

Step
Connect The Hard Drive
The first step is to connect the external hard drive to your Mac.
You do not need to use any special cables; simply plug the external hard drive directly into the USB port on your Mac.
Once the external hard drive has been connected, open Finder.
Step
Locate The Hard Drive
In the left-hand pane, select the External Hard Drive option. This will allow you to choose which folder you wish to back up.
It is recommended that you create a separate folder for each year so that you can keep track of what was backed up last year. Click Next.
Step
Start Back Up
The next screen allows you to set the options for backing up your Mac. Select the Backup Type option and click Continue.
On the following screen, you will see two options: Back-Up Now and Create Archive.
We recommend selecting the Create Archive option because it will automatically back up your Mac every time you close the program. However, if you prefer to manually back up your Mac, then select Back Up Now.
Click OK when you are ready to begin backing up your Mac.
Step
Begin The Process
When you start the process, you may notice that there is no progress bar showing the status of the backup.
This is normal behavior; once the backup begins, it will continue until completed.
Depending on the size of your Mac’s internal memory, the backup could take anywhere between 15 minutes to an hour or so.
When the backup is complete, you will receive a notification informing you that the backup was successful. To view the contents of your backup, click Open at the bottom of the window.
Step
Remove The Hard Drive
You can now safely remove the external hard drive from your Mac.
Why Should You Backup Your Mac To An External Hard Drive?
If you have ever lost important data, you know how devastating it can be, particularly if you lose precious photos or important work documents.
An external hard drive can help prevent this by providing a safe place to back up all of your important data.
A backup can also help you to free up space on your Mac; once things are uploaded to the hard drive, they can be removed from your device, and this ensures that your system has plenty of space to run the programs and files that you need.
Final Thoughts
A quality external hard drive is one of the best investments that you can make and will ensure that your files are all backed up, safe, and secure, no matter what happens.


