Last Updated on
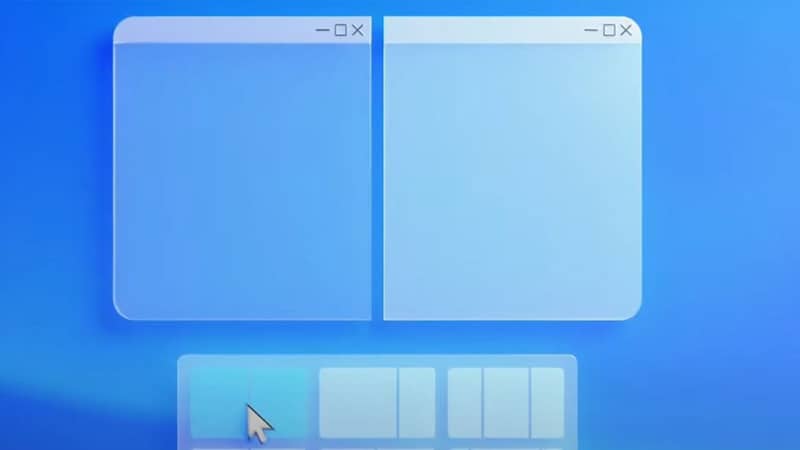
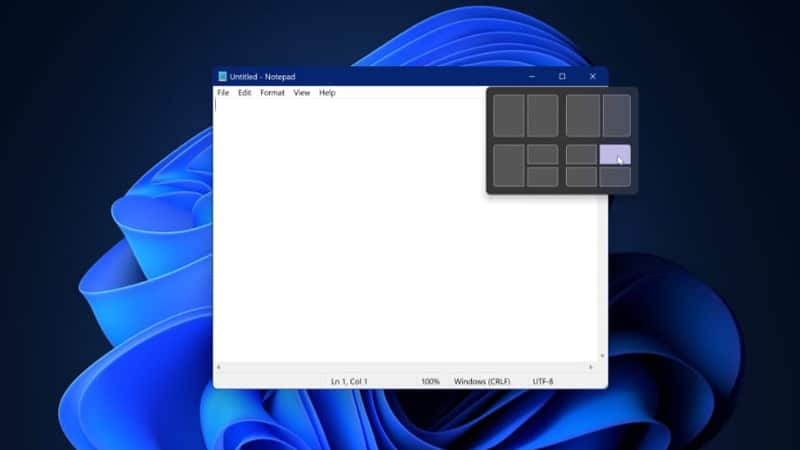
As Windows 11 looks to bring a huge overhaul to both the look and feel of the OS, as well as the ability to make it your own, there are a bunch of new features to help you tailor it to your perfect experience. One such feature is the introduction of Snap Layouts which allow you to essentially split up your screen with all your desired programs so that you can achieve maximum efficiency.
With this guide, we’ll be showcasing how to enable Snap Layouts in Windows 11 so that you can get your perfect workspace no matter how big or small your monitor screen is. For those Snap Layout skeptics, you should be able to quickly disable Snap Layouts also via this method.
Windows 11 Snap Layouts – How to enable

So you’re looking to get the new Windows 11 Snap Layouts? The short and simple steps below should get the job done nice and quickly.
Open Settings
Open your Windows settings by clicking the Start button and typing ‘Settings’.
Select System
Once in the Settings window, locate the System option and click it.
Go to Multitasking
After you’re in System settings, head to Multitasking.
Enable Snap Layouts
To turn on Snap Layouts check the ‘Show snap layouts when I hover over a window’s maximize button’ box.
And just like that, you should now have Snap Layouts in Windows 11 ready to go. If you try it out and it’s not for you, head back to the same area and uncheck the box we enabled.
If you’re having any problems with your Windows 11 install or want some handy tips and tricks, our Windows 11 hub should have all you require. Head over there to get your fair share of guides and helpful hints!


