

Last Updated on
Nahimic Companion uses lots of RAM and is installed during Windows update without permission. This legitimate software is an enhancement to your audio driver, but it is tricky to uninstall: it’s embedded into your OS and isn’t listed in Applications.
If you remove it, it will reinstall upon rebooting.
Before beginning, make sure that:
- Your system BIOS is up-to-date.
- You are disconnected from the internet.
Complete every step in order, and only restart once every method is completed.
Uninstall The Nahimic Companion
Step
Uninstall Nahimic
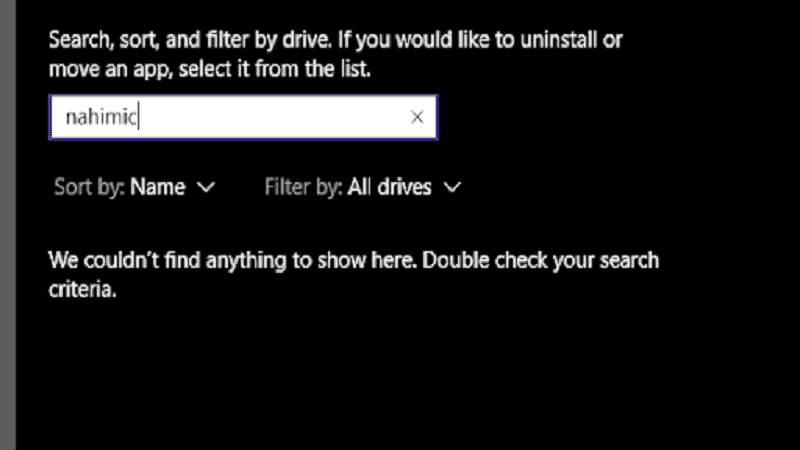
In Apps & Features, search ‘Nahimic’. Select ‘Uninstall’. If not present, right-click the Windows icon and search ‘Nahimic’. Uninstall.
Step
Open “Run Command” Box
Click the Windows icon. In the Power User menu, open the ‘Run command’ box.
Step
Copy & Paste
Copy & paste:
\Program Files (x86)\MSI\One Dragon Center\Nahimic
OR
%localappdata%/NhNotifSys
Step
Run Nahimic Uninstaller
Run Nahimic Uninstaller from NhNotifSys
Step
Click Uninstall
Click ‘Uninstall’. Follow these steps.
Step
Reboot
Reboot your system.
Disable Nahimic Companion And Services At System Startup
Step
Search “Nahimic”
Click the Windows icon. Search ‘Nahimic’ and open.
Step
Uncheck “Run Companion At Startup”
Uncheck ‘Run Companion at Startup’ and close.
Step
Search “Services”
Click the Windows icon and search ‘Services’. Choose ‘Run as Administrator’.
Step
Set Startup Type As “Disabled”
Select ‘Nahimic service’. Set Startup Type as ‘Disabled’.
Step
Go To ‘Recovery’
Click ‘Stop’. Go to ‘Recovery’.
Step
Select ‘Take No Action’
In the dropdown box of ‘First failure’, select ‘Take no action’. Repeat for ‘Second failure’ and ‘Subsequent failures’. Close the window.
Step
Open System Configuration
In Windows search, type ‘System Configuration’. Open.
Step
Uncheck ‘Nahimic Service’
In ‘Services’ uncheck ‘Nahimic Service’, and ‘Apply’.
Step
Click ‘Open Task Manager’
In the Startup tab, click ‘Open Task Manager’.
Step
Disable All Nahimic Processes
Disable all Nahimic processes/applications. Click the Windows button.
Step
Execute Program
In the Quick Access menu, open Windows PowerShell (Admin) & execute:
sc.exe delete “NahimicService”
Step
Reboot System
Reboot your system & check if the issue is resolved.
Delete Tasks In Task Scheduler
Step
Open Task Scheduler
In Windows search, type ‘Task Scheduler’. Open.
Step
Disable A Nahimic-related Task
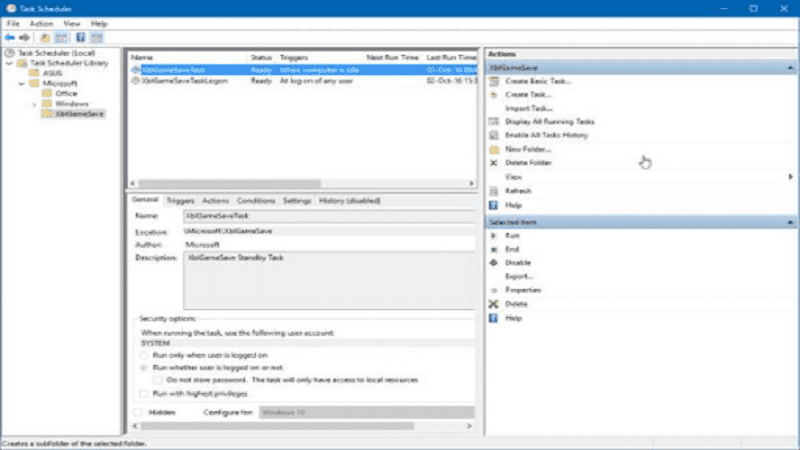
Click on a Nahimic-related task, and Disable.
Step
Repeat For All Nahimic Tasks
Repeat for all Nahimic tasks/scripts, including:
NahimcTask32
NahimicSvc64Run
NahimicSvc32Run
Step
Uninstall Nahimic Companion
Close Task Scheduler. Uninstall Nahimic Companion (as above).
Step
Reboot
Reboot your system.
Disable/Remove Nahimic Devices In Device Manager
Step
Open Device Manager
Click the Windows button. In the Power User menu, choose ‘Device Manager’.
Step
Click On ‘A-Volute Nh3 Audio Effects Component’
Expand ‘Sounds, Video and Game Controllers’. Click on ‘A-Volute Nh3 Audio Effects Component’ or ‘Nahimic Mirroring Device’
Step
Choose ‘Uninstall’
Choose ‘Uninstall’ and check ‘Delete the driver software for this device’
Step
Repeat To Remove ‘Nahimic Device’
Click ‘Uninstall’. Repeat to remove ‘Nahimic Device’ in ‘Software Devices/Components’.
Step
Reboot PC
Reboot your PC. If not resolved, repeat above steps but in place of ‘Uninstall’ choose ‘Disable’.
Using Group Policy To Stop Uninstallation Of Nahimic Companion Driver
Step
Open Properties And Click Details
Open ‘Properties’ of the Nahimic driver (A-Volute Nh3 Audio Effects Component or Nahimic Mirroring Device) in Device Manager. Click ‘Details’.
Step
Expand ‘Property’
Expand ‘Property’, choose ‘Hardware IDs’.
Step
Note Hardware IDs
Note hardware IDs and click the Windows icon.
Step
Open ‘Group Policy Editor’
Type ‘Group Policy Editor’, and open.
Step
Navigate
Navigate: Computer Configuration>Administrative Templates> System> Device Installation> Device Installation Restrictions.
Step
Click ‘Prevent Installation of Devices That Match Any of These Device IDs’
In the right pane click ‘Prevent Installation of Devices That Match Any of These Device IDs’ then select ‘Enabled’.
Step
Click In The ‘Value’ Box
In ‘Options’, click ‘Show’ and then click in the ‘Value’ box.
Step
Enter Hardware IDs
Enter the hardware IDs (one-by-one if multiple).
Step
Click ‘Apply’
‘Apply’ then close.
Step
Reboot PC
Remove the Nahimic application as discussed above, and reboot your PC.
Rename & Delete Files/Folders Related To Nahimic Companion
Step
Remove Nahimic Companion
Make sure Nahimic Companion is removed (without rebooting).
Step
Create A System Restore Point
Create a system restore point (You may be deleting System32 files)
Step
Click Task Manager
Click the Windows button. Choose Task Manager.
Step
Open File Location
Click the Nahimic process and choose ‘Open File Location’.
Step
End The Nahimic Process
Minimize the Nahimic window. End the Nahimic process in Task Manager.
Step
Rename Files Related To Nahimic

In the Nahimic window, delete (or rename) folders/files related to Nahimic.
Step
Repeat
Repeat for all Nahimic-related processes in the Task Manager.
Step
Rename/Delete
Rename/delete Nahimic files/folders at:
%localappdata%
Step
Install Driver Store Explorer
Install Driver Store Explorer (a GitHub project). Launch and Force Uninstall the A-Volute Extension driver package.
Step
Hide The Driver Update
Hide the driver update of the A-Volute extension.
Step
Reboot
Reboot your system.
