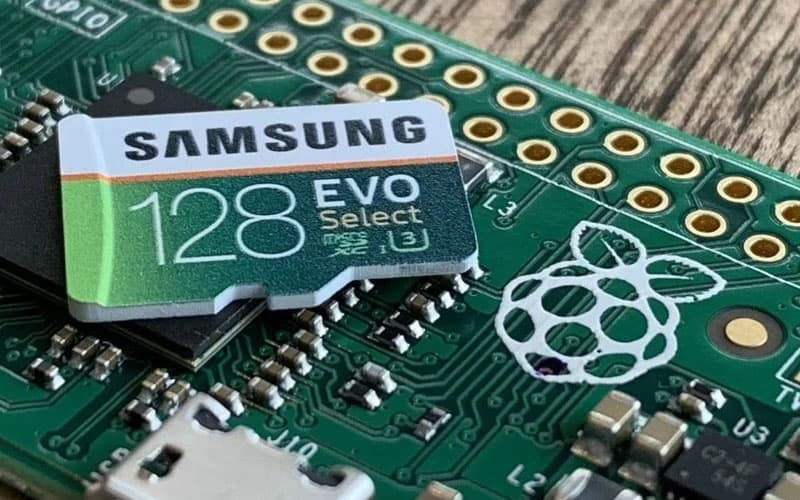
When it comes to booting up your Raspberry Pi, the default method involves using its built-in microSD card. This tiny storage device holds not just the Raspberry Pi operating system but also your valuable projects and data. Given its crucial role, learning how to backup an SD card on your Raspberry Pi is essential for safeguarding your work.
In this comprehensive guide, we’ll explore various methods to ensure you have a reliable Raspberry Pi backup. Whether you’re comfortable using an SD card copier, prefer the features of Win32 Disk Imager, or even if you’re a terminal window aficionado, we’ve got you covered. We’ll also delve into more advanced options like compressing the home directory of your Raspberry Pi and backing up specific partitions.
By the end of this article, you’ll be well-equipped to protect your entire SD card’s worth of data, making sure that your Raspberry Pi projects are safe and sound.
How to backup Raspberry Pi SD card with an SD card copier
Backing up your Raspberry Pi SD card is crucial for safeguarding your projects and data. One of the simplest ways to do this is by using the SD Card Copier utility in the Raspberry Pi OS.
Here’s a step-by-step guide to help you securely backup your Pi’s SD card to a USB storage device or a second SD card.
Step
Preparing your backup destination
Before initiating the backup process, you’ll need a destination to store the backup file. This could be a USB drive or a second SD card. Insert your chosen destination into a USB port on your Raspberry Pi.
Step
Accessing the SD Card Copier utility
Navigate to the main menu.
Open the main menu on your Raspberry Pi desktop and select “Accessories.”
Locate SD Card Copier.
Scroll down through the options until you find “SD Card Copier” and click on it.
Step
Initiating the backup process
Select source and destination
In the SD Card Copier utility, you’ll find two dropdown menus. In the “Copy From Device” dropdown, select your Pi’s SD card. In the “Copy To Device” dropdown, select your backup destination, which could be a USB storage or a second SD card.
Start the backup
After making your selections, click the “Start” button to begin the backup process. This action will copy the entire content of your Raspberry Pi SD card to your chosen destination.
Step
Locating your backup file
After the backup process is complete, you can find the backup file by clicking on the folder icon on your Raspberry Pi desktop. The backup file will be in the folder you designated on your backup destination.
By following these steps, you can ensure that you always have a backup of your Raspberry Pi operating system and all your essential files. This is particularly useful if you need to download a new version of the Raspberry Pi OS or restore your system to a previous state.
Remember, regular backups can save you from the hassle of setting up your Raspberry Pi from scratch. So, make it a habit to backup your Pi’s SD card regularly.
How to backup Raspberry Pi SD card with Win32DiskImager
Backing up your Raspberry Pi SD card is a smart move, especially if you’ve invested time and effort into your projects. One of the most reliable tools for this task is Win32DiskImager, a free utility that works exceptionally well with SD card readers. Below is a comprehensive guide on how to use Win32DiskImager to backup and restore your Raspberry Pi SD card.
Preparing your backup media
Before you start, make sure you have an SD card reader and a storage medium where you’ll save the backup. Insert your Raspberry Pi’s SD card into the SD card reader and connect it to your computer.
Creating a backup with Win32DiskImager
Step
Launch the interface
Open Win32DiskImager. You’ll be greeted by a straightforward interface that’s easy to navigate.
Step
Select the image file
In the “Image File” field, browse to the location where you want to save your backup. Enter a filename and make sure it ends with the “.img” extension.
Step
Choose the SD card
From the “Device” dropdown menu, select the drive letter corresponding to your microSD card. This is the source from which Win32DiskImager will create the backup.
Step
Start the backup
Click the “Read” button to initiate the backup process. The software will copy all the data from your Pi’s SD card to the .img file. You’ll receive feedback once the backup is complete.
By following these steps, you’ll have a reliable backup of your Raspberry Pi operating system and all your projects. This backup can be a lifesaver in case of accidental data loss or if you wish to clone your setup to another Raspberry Pi.
How to backup Raspberry Pi SD card with Etcher
Connect the SD card and target device to the PC to back up the Raspberry Pi SD card with Etcher. Once both the Raspberry Pi SD card and the target device are connected to the PC, follow these steps:
Step
Launch Etcher
Select “Clone Drive.”
Step
Choose the source option
Choose the SD card in the “Select source” option.
Step
Choose the Select 1 button
Click the Select 1 button.
Step
Choose your target device
Next, select the target device where you want to copy the backup in the “Select target” option.
Step
Find the Select 1 button
Once you see it, click the Select 1 button.
Step
Start copying
Click Flash to start copying the Raspberry Pi SD card.
Conclusion
In the realm of Raspberry Pi, knowing how to backup an SD card is more than just a good habit—it’s a necessity. This guide has aimed to equip you with the knowledge and tools you need to ensure the longevity and reliability of all your Raspberry Pi projects. Whether you’re using a flash drive, SSD, HDD, or even employing Linux commands via SSH, there’s a backup method that suits your needs.
Why regular backups matter
Remember, a small investment of time today in backing up your Pi’s SD card can save you from significant headaches down the line. Data loss is not just an inconvenience; it can derail projects and result in the loss of valuable time and effort.
By following the steps and commands outlined in this guide, you’re not just protecting data; you’re also ensuring that your Raspberry Pi experience remains as smooth and enjoyable as possible.
So go ahead, make regular backups a part of your Raspberry Pi routine.