Getting rid of the thin lines from the surface and making it look shiny and smooth is an important requirement of your 3D prints. No matter whether you use an SLA or an FDM printer, it is better, in fact, crucial, to learn about finishing your 3D model in the best way.
What Techniques Can You Use to Complete 3D-Printed Models?

There are numerous factors that matter in the finishing of your 3D-printed model. Therefore, it is mandatory to consider them to get the desired results.
Some of them are as below:
- You can start with the filling; you must fill in all the gaps or any imperfection you may notice on your model’s surface. To fill the holes or gaps, you can use different filling materials, such as wood filler or epoxy putty.
- Next, we have the sanding process, which can help to smoothen down your 3D-printed model’s surface. You can use different sandpapers or sand sponges to get the desired smoothness level.
- Painting is another crucial factor to consider in finishing your 3D-printed model. You can go with spray or acrylic paints to add more details and color to the model.
- Polishing is crucial to give it a shiny look at the end. You can use the compound polish paired with a clean and soft cloth and start buffing it until you get the desired finished look.
What to Do Once a 3D Print is Complete?
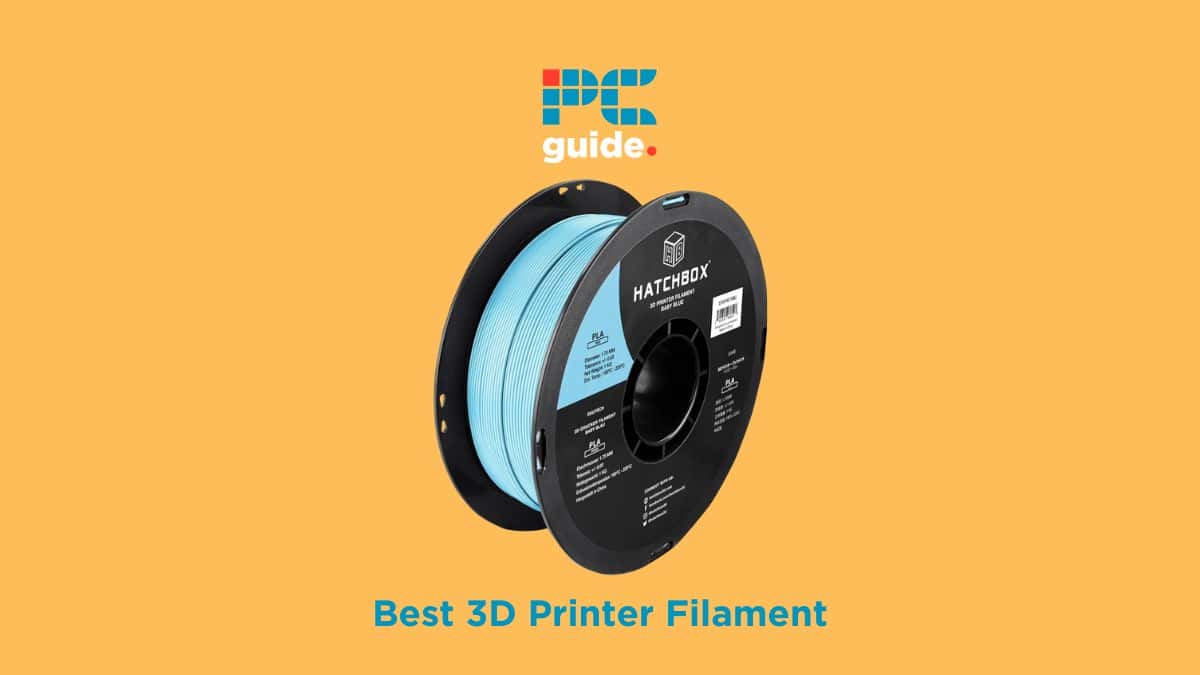
After completing each 3D print, you must remove the filament and place it on the extruder. Brush the nozzle with acetone after the completion of each print. This will help in many ways, such as increasing the 3D printer’s life span and improving the quality of the next print.
Conclusion
Finishing a 3D print isn’t hard and only requires attention to each detail. Therefore, with the above few factors, we hope you can finish your printed 3D model well. You can try a few tips and tricks the manufacturer recommends helping you get the best finishing results.


